FREE SYMBOL
What is the Reverse Creaming Method of Making Cake?
Our go-to reverse creaming method that will change the way you bake forever!
Most of us have heard about creaming butter and sugar, right? If you haven’t, this refers to beating together room-temperature for a light and fluffy butter and sugar mix. This process creates tiny air pockets in the batter that makes cakes rise as the whipped air bubbles expand during baking. But what if we told you there’s an easier, more efficient way to achieve the same beautiful cake? Keep reading to find out our preferred method of creaming butter and sugar!
Reverse creaming is a simple method that involves beating softened butter into dry ingredients instead of just sugar. The traditional creaming method and reverse creaming method produce quite similar results. Both produce a texture that’s light and moderately fine, but there are some subtle differences.
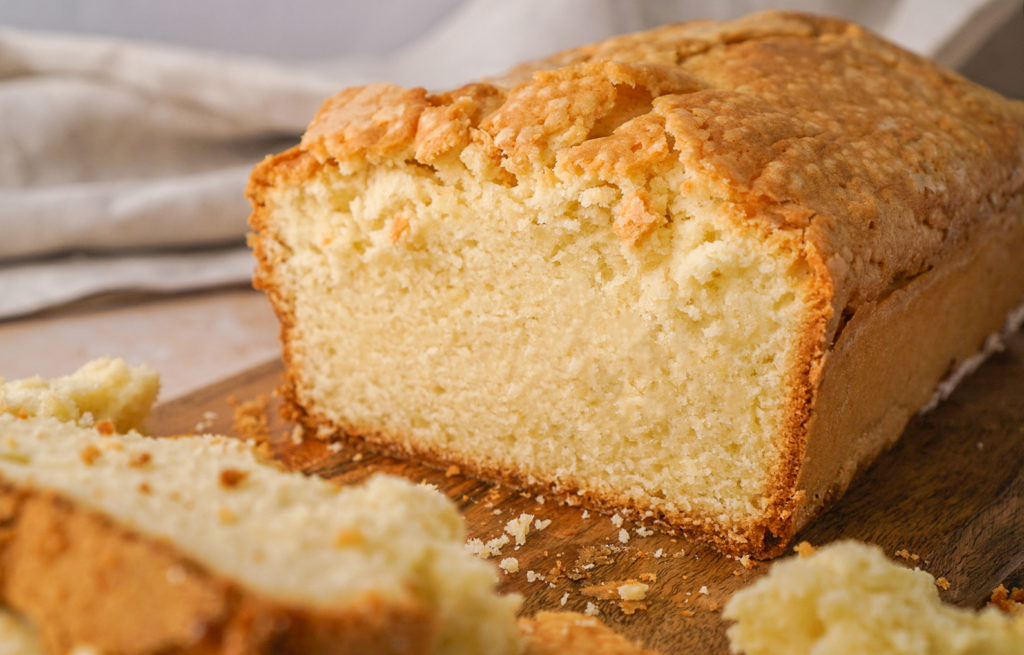
The traditional creaming method creates cakes that are a little more fluffy and have a slightly more open crumb. It also produces cakes that have a domed top due to the extra air beaten into the batter. Reverse creaming, on the other hand, produces flatter cakes with a velvety texture and even crumb — perfect for layered cakes!
Cakes made with the reverse creaming method have a more delicate texture because the butter coats the flour, which prevents any gluten from forming early on. We prefer this method for all these reasons, not to mention it’s much easier and almost impossible to mess up. While there are certainly recipes that call for reverse creaming, most recipes do not. Don’t worry, though — you can substitute this method with any recipe that calls for traditional creaming!
How Do You Do The Reverse Creaming Method?
Reverse creaming is quite easy, in fact. With just a few simple steps, you’ll get that perfectly smooth batter everyone knows and loves! Here’s a step-by-step guide to this incredibly easy baking technique that will change your life forever.
Step 1
Start by combining all the dry ingredients and sugar into a stand mixer or large mixing bowl.
Step 2
Beat cubed room-temperature butter into dry ingredients until it resembles a coarse meal. We recommend using a stand mixer, but a hand mixer will do just fine. If you use a hand mixer, it may just take longer to reach this stage.
Step 3
In a separate bowl, whisk together all the wet ingredients. Add half the wet ingredients into the dry and mix until just combined.
Step 4
Add remaining ingredients and beat on medium speed until light and fluffy (approximately 2 minutes). The batter should result in a smooth, silky texture, and a light yellow color.
Step 5
Bake based on the directions of the recipe!
That’s it! Seems simple enough, right? Go ahead and give it a try! With its straightforward steps and remarkable outcomes, the reverse creaming method is your ticket to flawless cakes and elevated creations. Let us know if there are other baking techniques you’d love to learn more about.